Title here
Summary here
This article explains how to use MOGON as render farm for open-source 3D creation software Blender. Currently supported are Blender versions 5.2.2 LTS and 4.0.1.
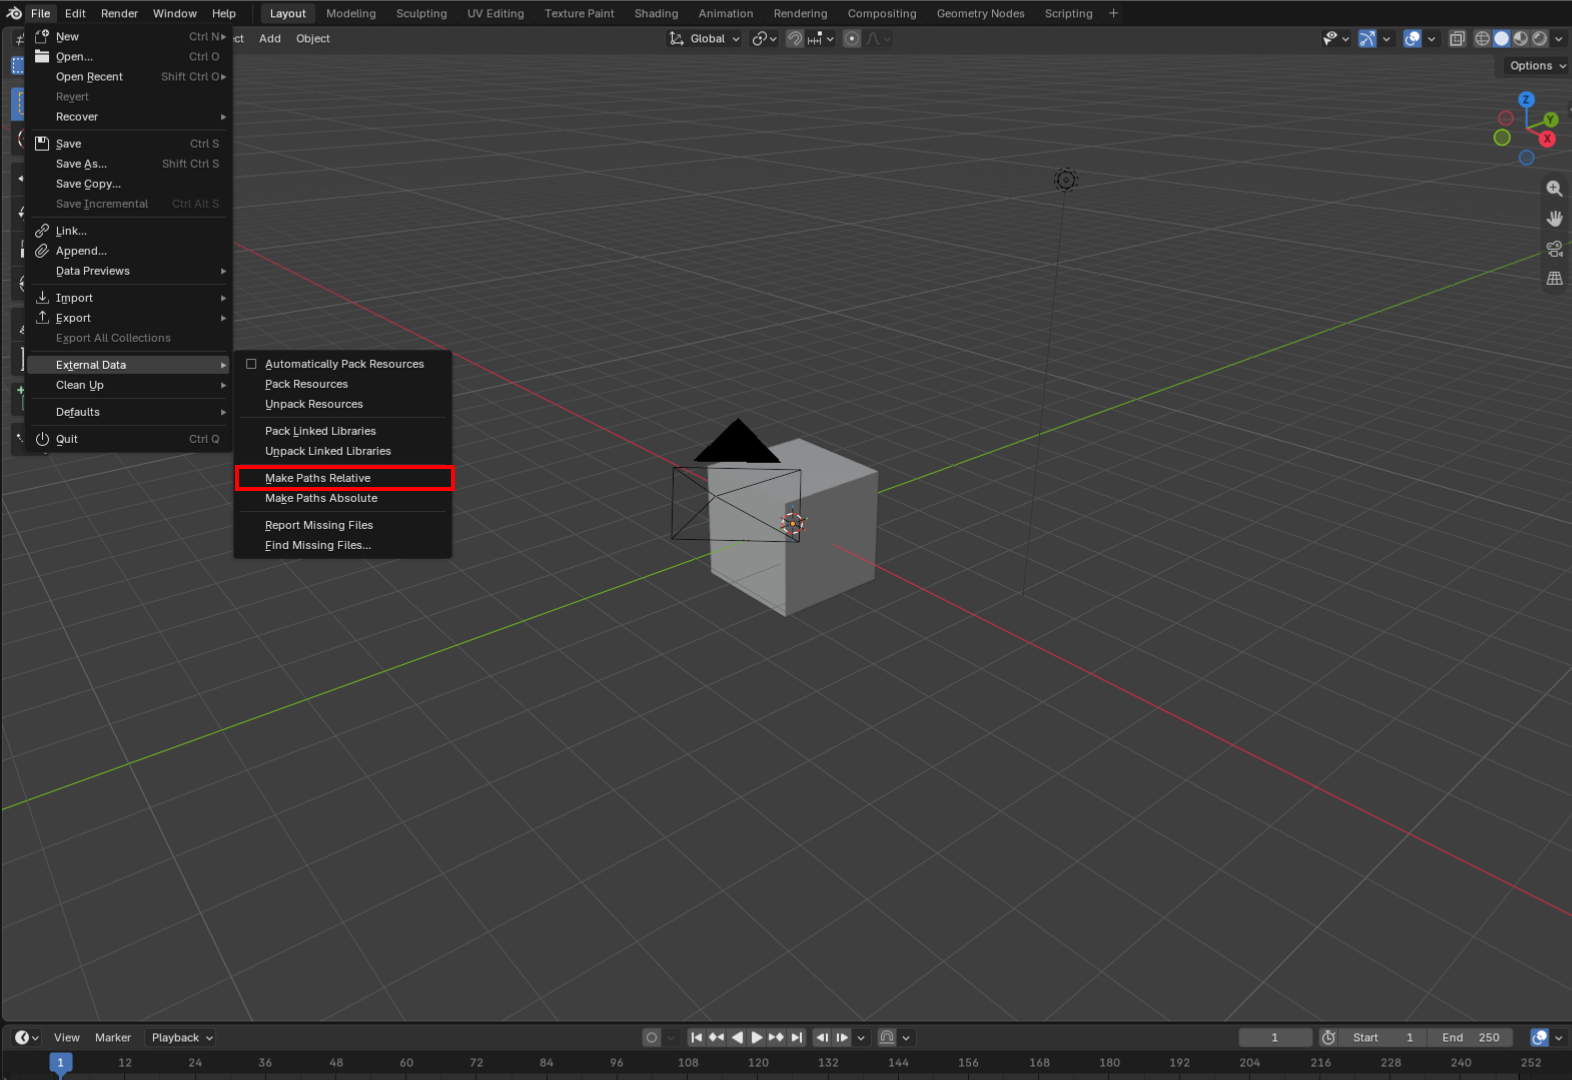
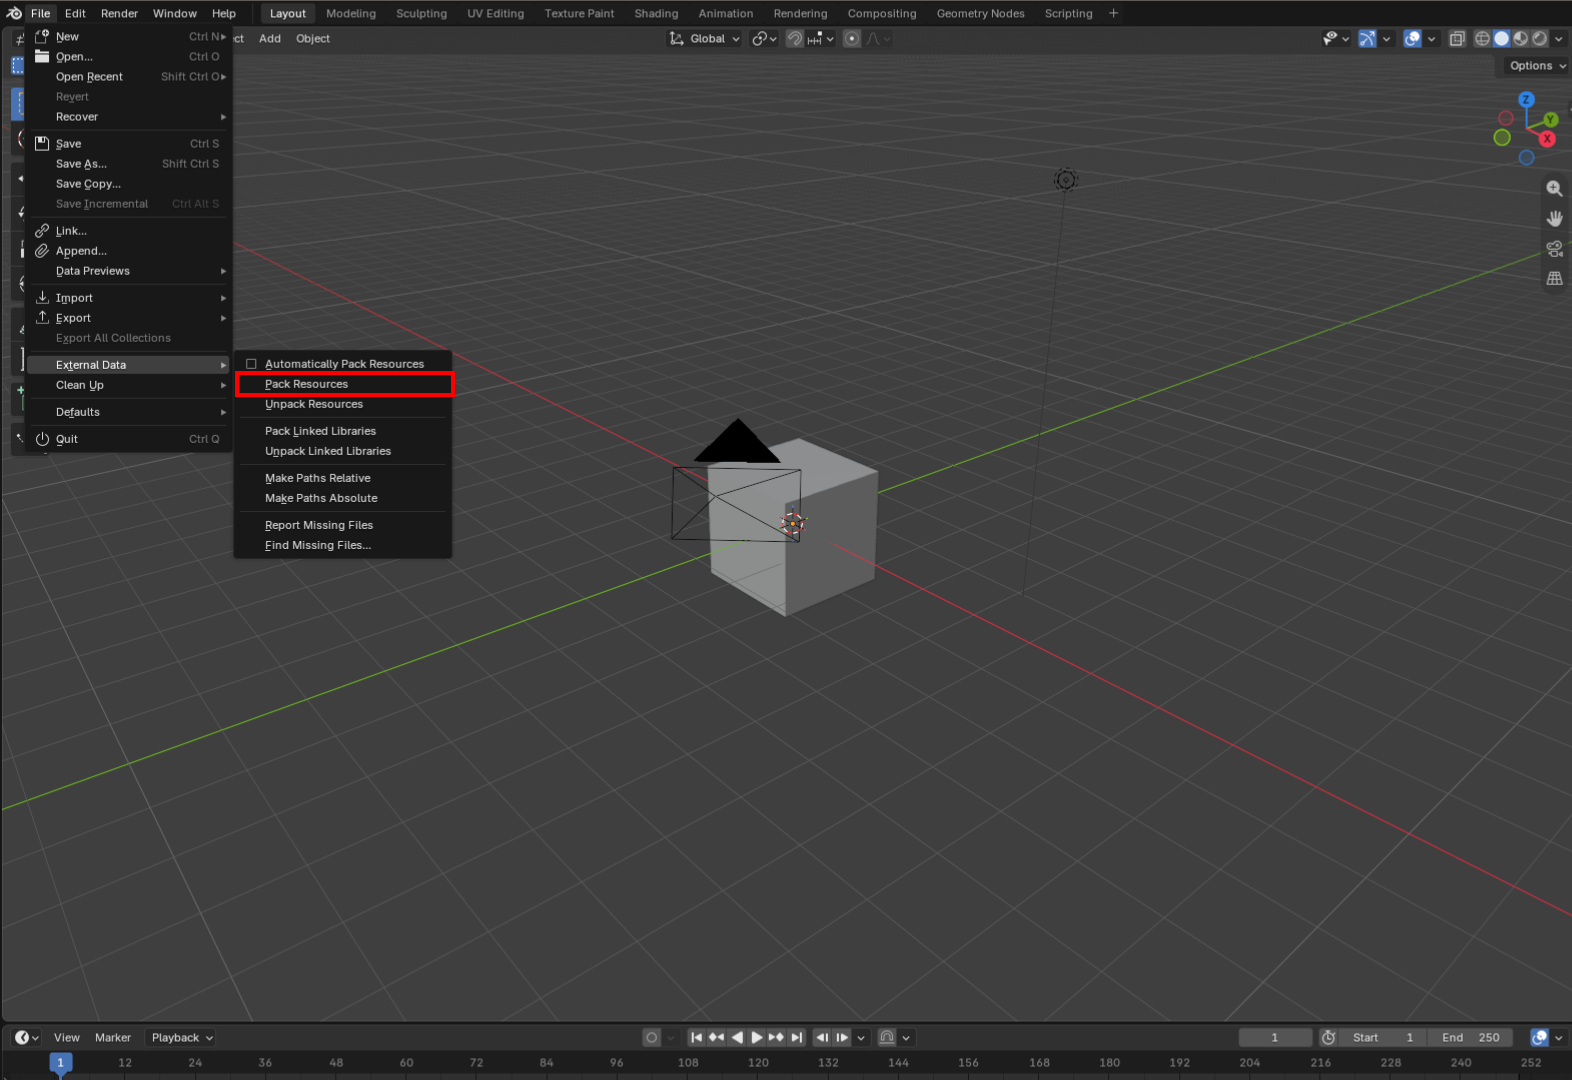
Before sending your file to MOGON make sure it is prepared correctly. This includes packing external resources so MOGON receives all necessary files.
If you cached data externally your file tree should look similar to this.
project/
├── scene.blend
└── cache/
    ├── data/
    ├── mesh/
└── ...Before sending your file over make sure all render settings are set as you like.
To send your blend file or directory to MOGON it is best to use rsync. Sends .blend file to MOGON:
rsync -avP scene.blend username@mogon-nhr-01:/home/username/scene.blendIn case of external cache use this command to send your whole directory:
rsync -avP project/ username@mogon-nhr-01:/home/username/project/For the partition always use a40 as this is best for 3D rendering.
Provided here is an example of a basic rendering script using a single GPU on a40. To use it change the #SBATCH --account=your-account. It is sufficient for rendering single images or Eevee animations. To learn more about blender flags look into these docs articles about Render Flags and Cycles Engine.
#!/bin/bash
#SBATCH --job-name=blender-render
#SBATCH --partition=a40
#SBATCH --account=your-account
#SBATCH --nodes=1
#SBATCH --gres=gpu:1
#SBATCH --tasks-per-node=1
#SBATCH --cpus-per-task=16
#SBATCH --time=00:30:00

module load vis/Blender/5.2.2-GCCcore-13.3.0-linux-x86_64-CUDA-12.6.0

blender -b <filename.blend> -o //render_#### -F PNG -x -f 1 -- --cycles-device OPTIX
If you want to render an animation in Cycles it makes sense to distribute the frames between multiple GPUS so you leverage the full power of HPC and parallelize the rendering process. This approach is used in the more in depth slurm script below.
#!/bin/bash
# Usage:  sbatch blender-multi.sh [-f N] <file.blend> <start> <end>
#   -f N  render only every N-th frame (e.g. for quick test renders)
# Output: PNG frames under render/ next to the .blend.
#SBATCH --partition=a40
#SBATCH --account=your-account
#SBATCH --nodes=1
#SBATCH --gres=gpu:2
#SBATCH --cpus-per-task=32
#SBATCH --mem=128G
#SBATCH --time=04:00:00
#SBATCH --job-name=blender-multi
#SBATCH --output=%x-%j.out

set -u -o pipefail

STEP=1
while getopts f: opt; do case $opt in f) STEP=$OPTARG ;; *) exit 2 ;; esac; done
shift $(( OPTIND - 1 ))
BLEND=$(realpath "$1"); START=$2; END=$3

PYCODE="import bpy; p = bpy.context.preferences.addons['cycles'].preferences"
PYCODE+="; p.compute_device_type = 'OPTIX'; p.get_devices()"
PYCODE+="; [setattr(d, 'use', d.type == 'OPTIX') for d in p.devices]"
PYCODE+="; bpy.context.scene.cycles.device = 'GPU'"

module load vis/Blender/5.2.2-GCCcore-13.3.0-linux-x86_64-CUDA-12.6.0

NGPU=$SLURM_GPUS_ON_NODE
FRAMES=$(( (END - START) / STEP + 1 ))
NPROC=$(( NGPU < FRAMES ? NGPU : FRAMES ))
CPUS=$(( SLURM_CPUS_PER_TASK / NGPU ))
MEM=$(( SLURM_MEM_PER_NODE / NGPU ))

for (( i = 0; i < NPROC; i++ )); do
    srun -u --exact -N1 -n1 --gres=gpu:1 -c "$CPUS" --mem="${MEM}M" \
        blender -b "$BLEND" --python-exit-code 1 --python-expr "$PYCODE" \
            -o "//render/frame_####" -F PNG -t "$CPUS" \
            -s $(( START + i * STEP )) -e "$END" -j $(( NPROC * STEP )) -a &
done

fail=0
while (( NPROC-- )); do wait -n || (( fail++ )); done
(( fail == 0 )) || echo "WARNING: $fail process(es) failed"
exit $(( fail > 0 ))
Adjust #SBATCH --account=your-account and #SBATCH --gres=gpu:n to set the amount of GPUS to use. If you want to know how many are available at the moment use sinfo.
Before submitting the full frame range it is adviced to do a test render where only every e.g. 20th frame is rendered. This can be done by using -f 20 as so.
sbatch render_multi_gpu.slurm -f 20 <file.blend> <start-frame> <end-frame>When submitting the full job you can leave out the -f flag:
#Usage
sbatch render_multi_gpu.slurm <file.blend> <start-frame> <end-frame>
#Example
sbatch render_multi_gpu.slurm scene.blend 1 250
The finished frames can be found in the /render directory right next to your blend file. To get them back on your system we use rsync again.
rsync -avP username@mogon-nhr-01:/home/username/project/render project/render