Setup on Windows
This tutorial guides you through the process of generating SSH keys on Windows using PuTTY, MobaXterm or PowerShell and shows you how to upload your public key to the JGU account website.
- Request your PI to add your JGU account to an HPC project.
- Generate your SSH keys for Linux/macOS or Windows .
- Upload your public SSH key to your JGU account.
- Prepare your smartphone for 2FA by installing freeOTP or privacyIDEA.
- Email the HPC Group from your JGU account to schedule authentication.
- Complete the 2FA configuration with an HPC admin.
- Log in to MOGON via SSH.
If you intend to use the Windows Subsystem for Linux (WSL) instead of using Windows directly to connect to MOGON, please follow the instructions described in the Linux chapter.
Generating SSH Keys
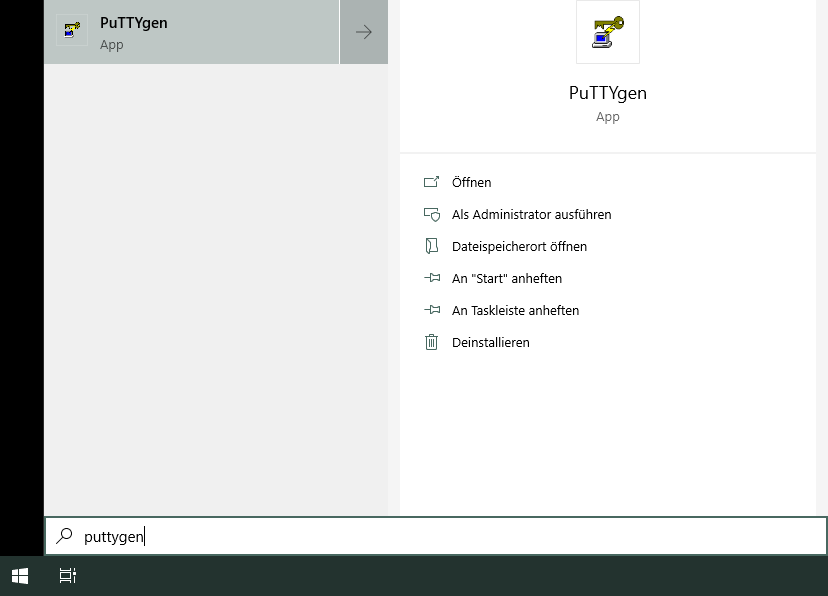
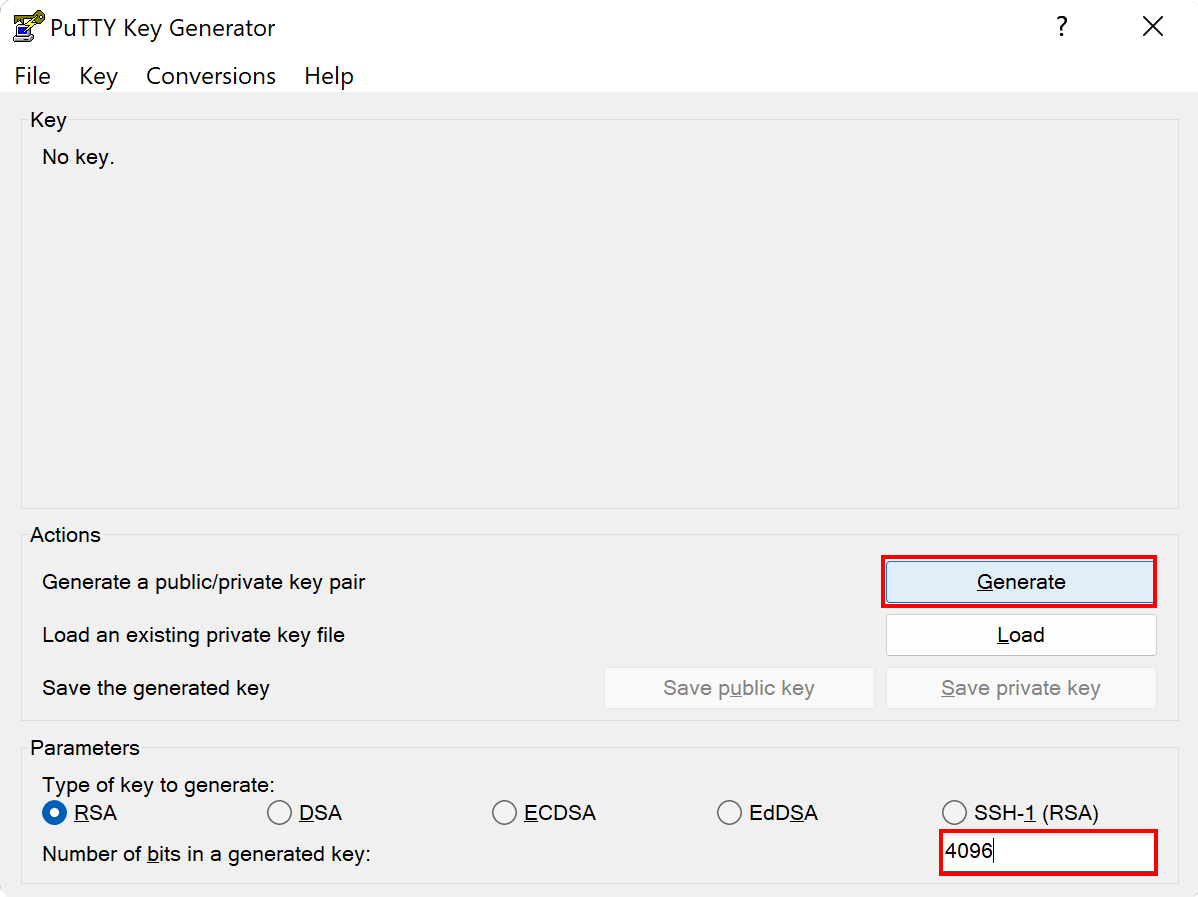
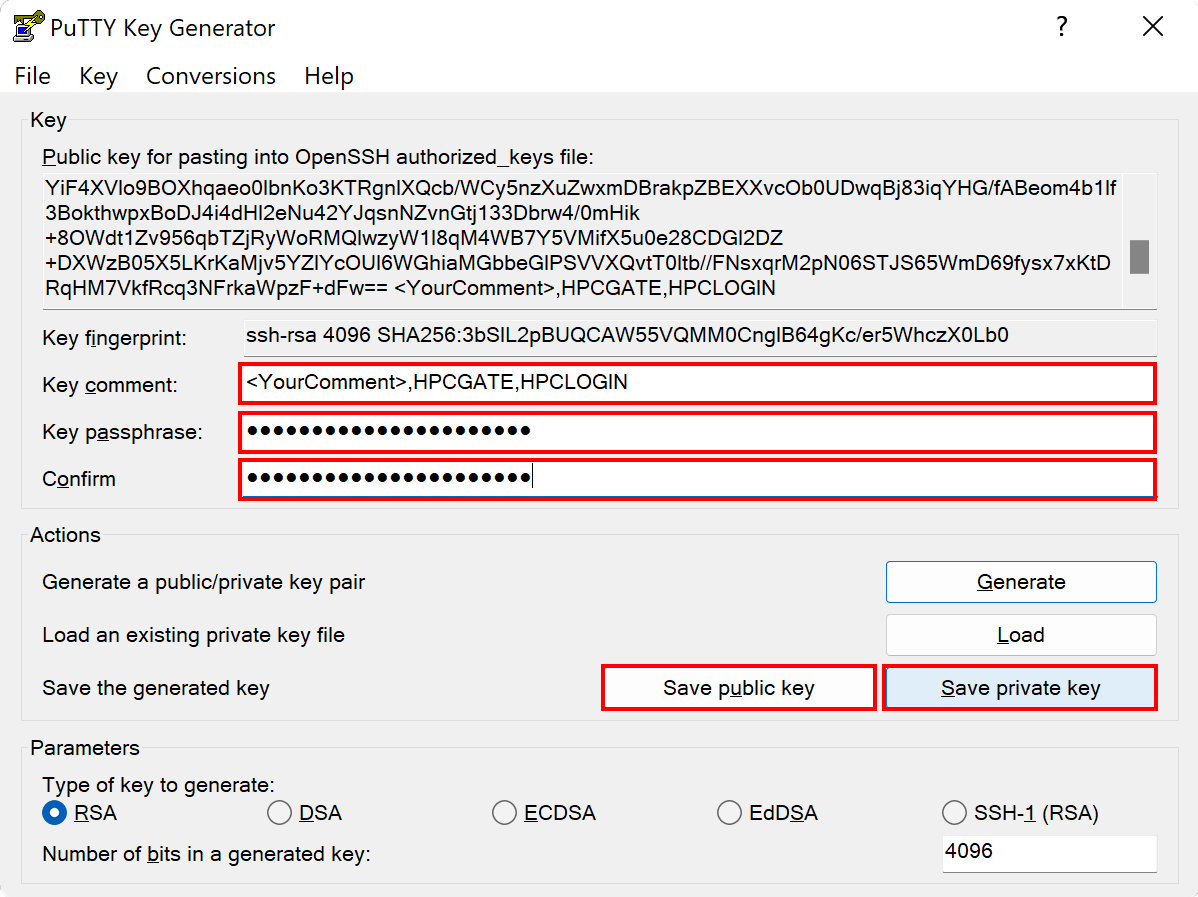
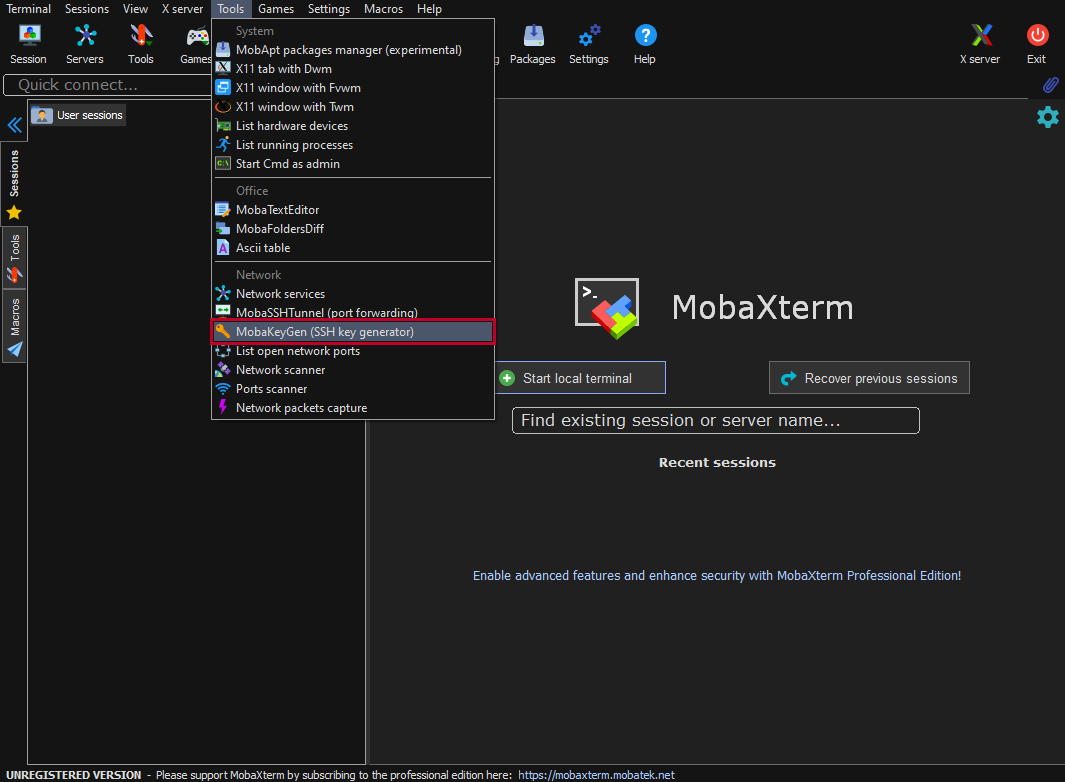
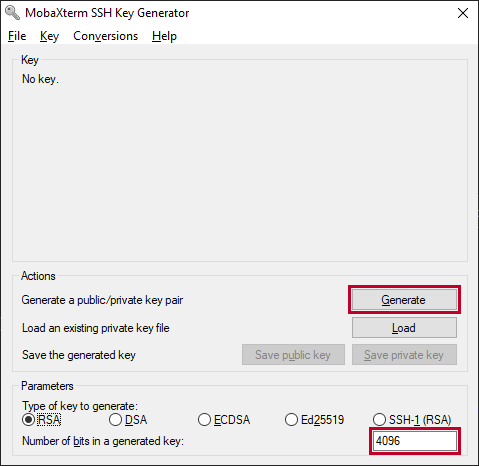
The instructions below guide you through the process of creating your personal SSH key-pair using different tools. Choose the one you want to use and perform the specified steps.
Open Windows PowerShell.
Verify OpenSSH is installed on your system. In the PowerShell, run:
ssh -VIf installed, you’ll see an output like below. Your version might vary - the steps should still work:
OpenSSH_for_Windows_9.5p1, LibreSSL 3.8.2Run the following command to verify that the
ssh-agentis running:Get-Service ssh-agentIf it’s not running, start it:
Start-Service ssh-agentTo Navigate to your (hidden) .ssh directory:
cd ~/.ssh/If the folder doesn’t exist (yet), create it by running:
mkdir ~/.sshGenerate an SSH key pair by running this command in PowerShell:
ssh-keygen -t ecdsa -b 521 -C "HPCGATE,HPCLOGIN"-t ecdsa: Specifies the ECDSA algorithm-b 521: Sets the key size-C "HPCGATE,HPCLOGIN": Adds a comment
Alternative: Use
ed25519if supported (faster/secure):ssh-keygen -t ed25519 -C "HPCGATE,HPCLOGIN"ssh-keygenwill prompt for a file name:Enter a file in which to save the key (C:\Users\<Your_USERNAME>/.ssh/id_ecdsa):Set a passphrase of your choice - use one! An empty passphrase is a serious security concern. Note: Characters are masked while typing.
Enter passphrase (empty for no passphrase): [Type a passphrase]
Enter same passphrase again: [Type passphrase again]
You will receive an output confirming the successfull creation of your ssh key-pair looking like this:
Your identification has been saved in C:\Users\<Your_USERNAME>/.ssh/id_ecdsa
Your public key has been saved in C:\Users\<Your_USERNAME>/.ssh/id_ecdsa.pub
The key fingerprint is:
SHA256:QmQpzFKweanCN4+xlIFLTAGwxiEQeSoYWOXEhzvAxxk HPCGATE,HPCLOGIN
The key's randomart image is:
+---[ECDSA 521]---+
|^@*E+ o.         |
|&+=*++.          |
|o@+oo..          |
|X .oo.           |
|++.*  . S        |
| .o *  .         |
|   o .           |
|                 |
|                 |
+----[SHA256]-----+
To make the ssh-agent aware of your new key run the following command:
ssh-addWhen prompted, enter your key’s passphrase.
To simplify remote logins we recommend to use a ssh-configuration file. You can create this file inside your .ssh directory using notepad by running:
notepad C:/Users/<YOUR_WINDOWS_USERNAME>/.ssh/configPaste the configuration content below into the text editor’s window. Adjust the file, then save with Ctrl + s.
Host hpcgate
  User <YOUR_JGU_USERNAME>
  HostName hpcgate.zdv.uni-mainz.de
  Port 22
  IdentityFile C:/Users/<YOUR_WINDOWS_USERNAME>/.ssh/id_ecdsa

Host mogon
  HostName miil03.zdv.uni-mainz.de
  User <YOUR_JGU_USERNAME>
  Port 22
  IdentityFile C:/Users/<YOUR_WINDOWS_USERNAME>/.ssh/id_ecdsa
  ProxyCommand ssh.exe -W %h:%p -q hpcgate

Host mogon-nhr
  HostName mogon-nhr-01.zdv.uni-mainz.de
  User <YOUR_JGU_USERNAME>
  Port 22
  IdentityFile C:/Users/<YOUR_WINDOWS_USERNAME>/.ssh/id_ecdsa
  ProxyCommand ssh.exe -W %h:%p -q hpcgate
Open your SSH public key file SSH public key file. You can do this using notepad:
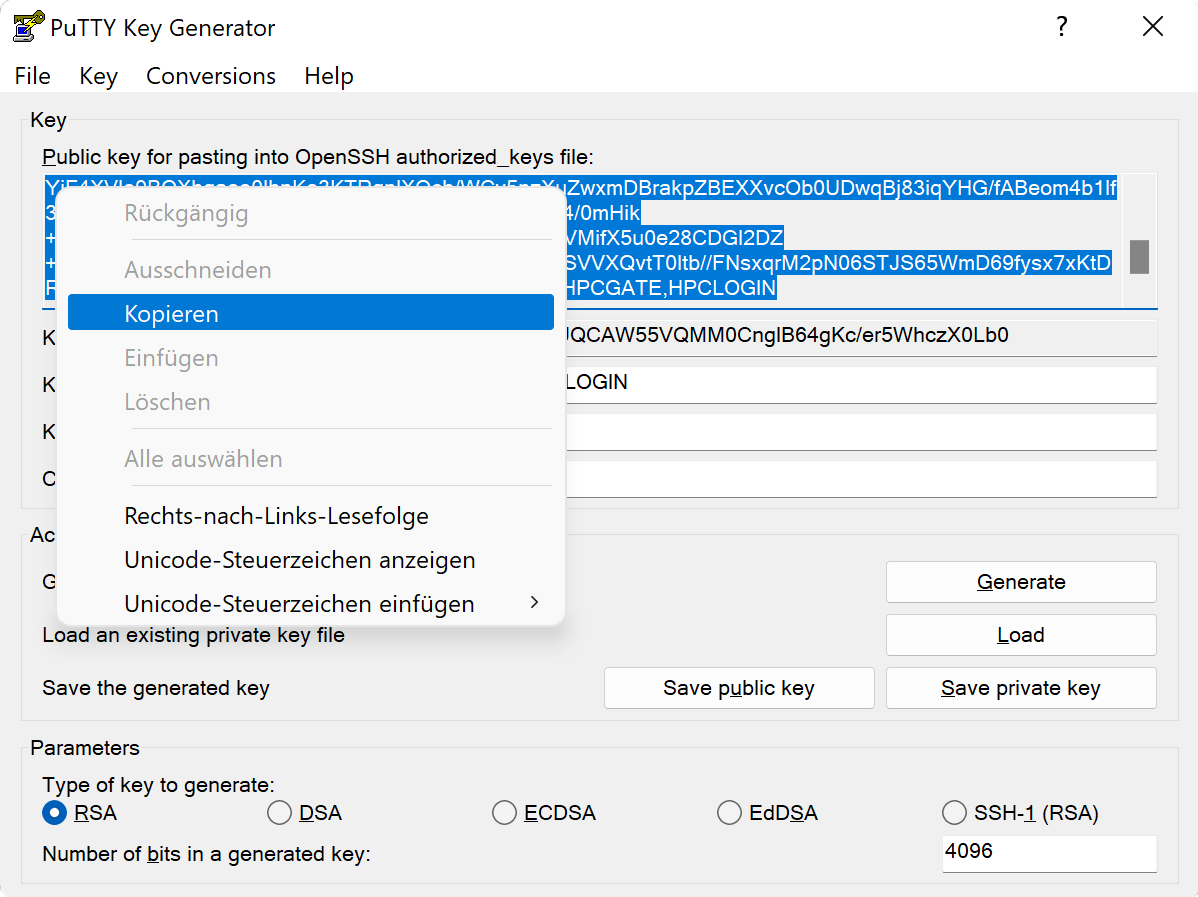
notepad C:/Users/<YOUR_WINDOWS_USERNAME>/.ssh/id_ecdsa.pubThe notepad application will launch and display your public key. Please click into the notepad window and press Ctrl + a and Ctrl + c to copy the entire content. You will need this in the next section of this guide, which is the upload of your public key to your JGU account.
Uploading your public key
- Request your PI to add your JGU account to an HPC project.
- Generate your SSH keys for Linux/macOS or Windows .
- Upload your public SSH key to your JGU account.
- Prepare your smartphone for 2FA by installing freeOTP or privacyIDEA.3
- Email the HPC Group from your JGU account to schedule authentication.
- Complete the 2FA configuration with an HPC admin.
- Log in to MOGON via SSH.
To make MOGON aware of your new SSH key, we use a web-tool to transfer the public key to the server. Please note that it takes some time for these changes to propagate through our systems. During working hours it should take no more than 70 minutes.
- Browse to
account.uni-mainz.de
and use your
JGU credentialsfor login. - Paste the contents of your public SSH key into the
SSH public keyfield. - You can add further comments in the
Comment or key namefield to help you identify this key again at a later point in time. - Please select
HPCLOGINas thekey usage. - Feel free to leave the duplicate
HPCLOGINas is, or delete it from the public key field. - At last, please click on
Save. - The newly added SSH key should be displayed in the SSH key overview.
Next Step: Setting up the Mobile Authenticator
After completing all the steps above, please continue with the preparation of your smartphone or tablet for the two-factor authentication (2FA) by following the instructions in the Mobile Authenticator chapter.

